
I tried and tried to find the originator of this idea . . .
We wanted, as a family, to surprise a friend with a BALLOON Avalanche as she was coming out her front door. Her FRONT door! I knew that would add complications if it was raining or super windy (thank goodness it wasn't).
So, I took a stab at it this past week, and it worked! I'll definitely refine it (I'll add those comments in the post) And, just now, I found someone who did something similar, inside the house. Simply Kelly Design: Balloon Avalanche.
The supplies you'll need:
3-4 trash bags depending on size
painter's tape and packing tape
balloons (at least 30)
tape measure
scissors

Take the trash bags and 1) cut the bottoms of and 2) cut down the middle so that they open up.
(the kids can totally help with this)

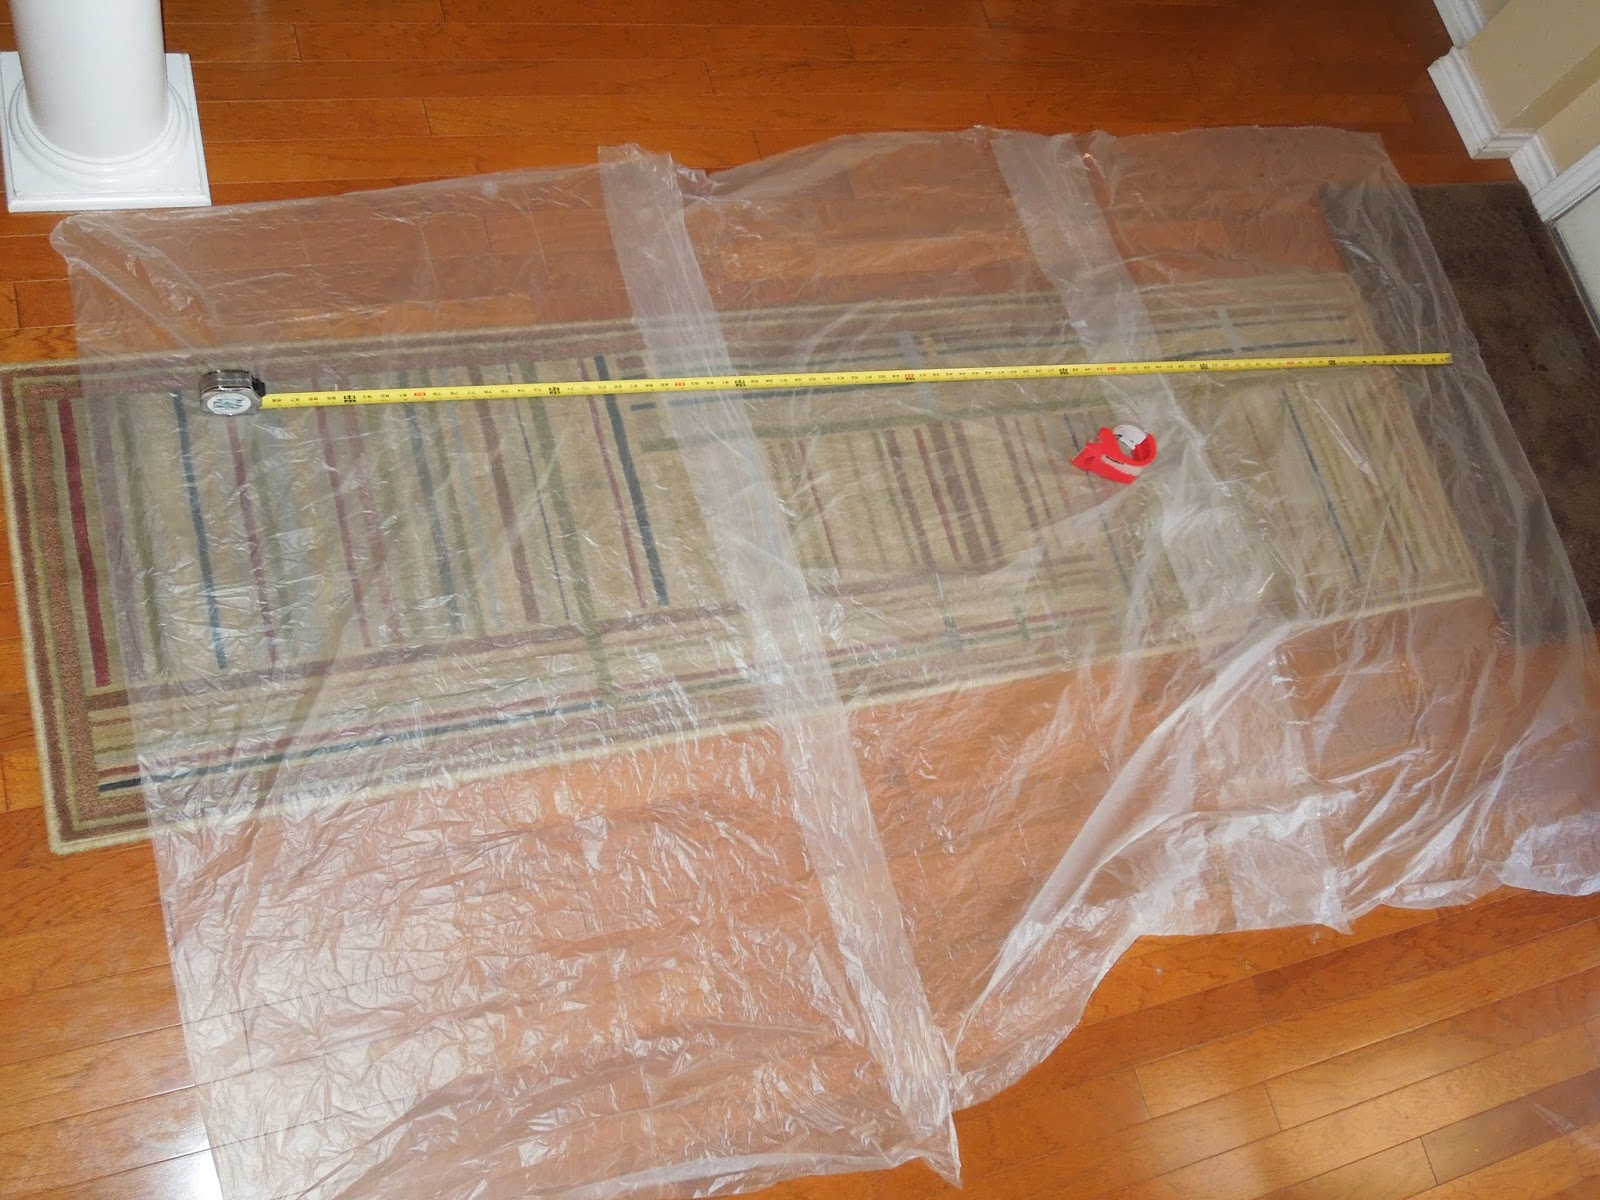
Lay the out the trash bags, one at a time, and tape them together.
(For the front doors in my neighborhood, I needed the plastic to be 64 X 86 inches.)
I taped them on both sides . . .
had no idea how strong they would need to be in order for this to work outside.
When I do this again, I will add tape across from left to right and top to bottom to reinforce the trash bags a bit more.
Then blow up a bunch of balloons as big as you can (without making them want to pop). We tried to blow up a variety of sizes, and all that did was make the small ones want to fall to the bottom.
Keep them the same size.

Then, load your kids up into the car. Go, go, go!
We decided this to do this early in the morning just as the sun was coming up.

We parked several houses down and walked with great stealth to her house.
IMPORTANT: Getting the plastic up over her front door took two people.
Just tape the sides up and add some tape across for extra support.
Tape the bottom of the plastic so that the balloons don't slide out.
Add the balloons (be careful if there is a wreath!).
NOTE: I contacted her husband ahead of time to let him know we were doing this. That way, he could cover for us if we were making noise with the tape.
She LOVED it!

And we added a Happy Chalk Message because you can't have too many of those!
Thanks for stopping by my blog and linking my post! Your little guys are so cute!
ReplyDeleteI don't get it... what happens when she walks into the bag of balloons? It's late, so perhaps I'm being dim, but I don't understand the fun part for the recipient.
ReplyDeleteI love all the great ideas and things you are doing... I'm sure I'll like this too once I understand it! :-)
Please ignore my prior comment! I clicked the link to Simply Kelly Design and I get it now! As they say, a picture is worth a thousand words...
ReplyDeleteNo worries! I *wish* I had been there to take a picture and see her face. Glad that Simply Kelly could help us out!
DeleteHi there! That pin is a picture of my daughter's bedroom door last summer. :) I get such a kick out of seeing how many people have tried this and that (most of the time) it works for them.
ReplyDeleteWas just looking at this as my daughter had her 7th birthday last week and I didn't repeat the prank and she was pretty bummed - so should probably add a warning to my pin that you might be getting into a lifelong commitment!
http://pinterest.com/misty_mccarty/kid-projects/
So glad to know who originated that idea! A great idea, Misty! Thank you for inspiring so much love for others in a fun way!--And eager to give you credit for it.
Delete